
Once your forms are done — at the ticket window or online — head to the Rental Shop for your equipment. Please make sure everything on the rental form is correct and accurate; the fit depends on it. See what is available and what it costs on Rentals & Equipment.
Step 1 — Helmet
Helmets are the law for alpine skiing and snowboarding in Nova Scotia. Our rental techs will make sure yours fits properly.
Step 2 — Boots
Collect your alpine ski or snowboard boots at the boot counter, take a seat on the bench and put both boots on. Ask a rental tech if you are unsure about the fit — a correct, comfortable boot is the difference between a good day and a long one. Street shoes go in a storage cubby or a coin-operated locker.
Step 3 — Skis or snowboard
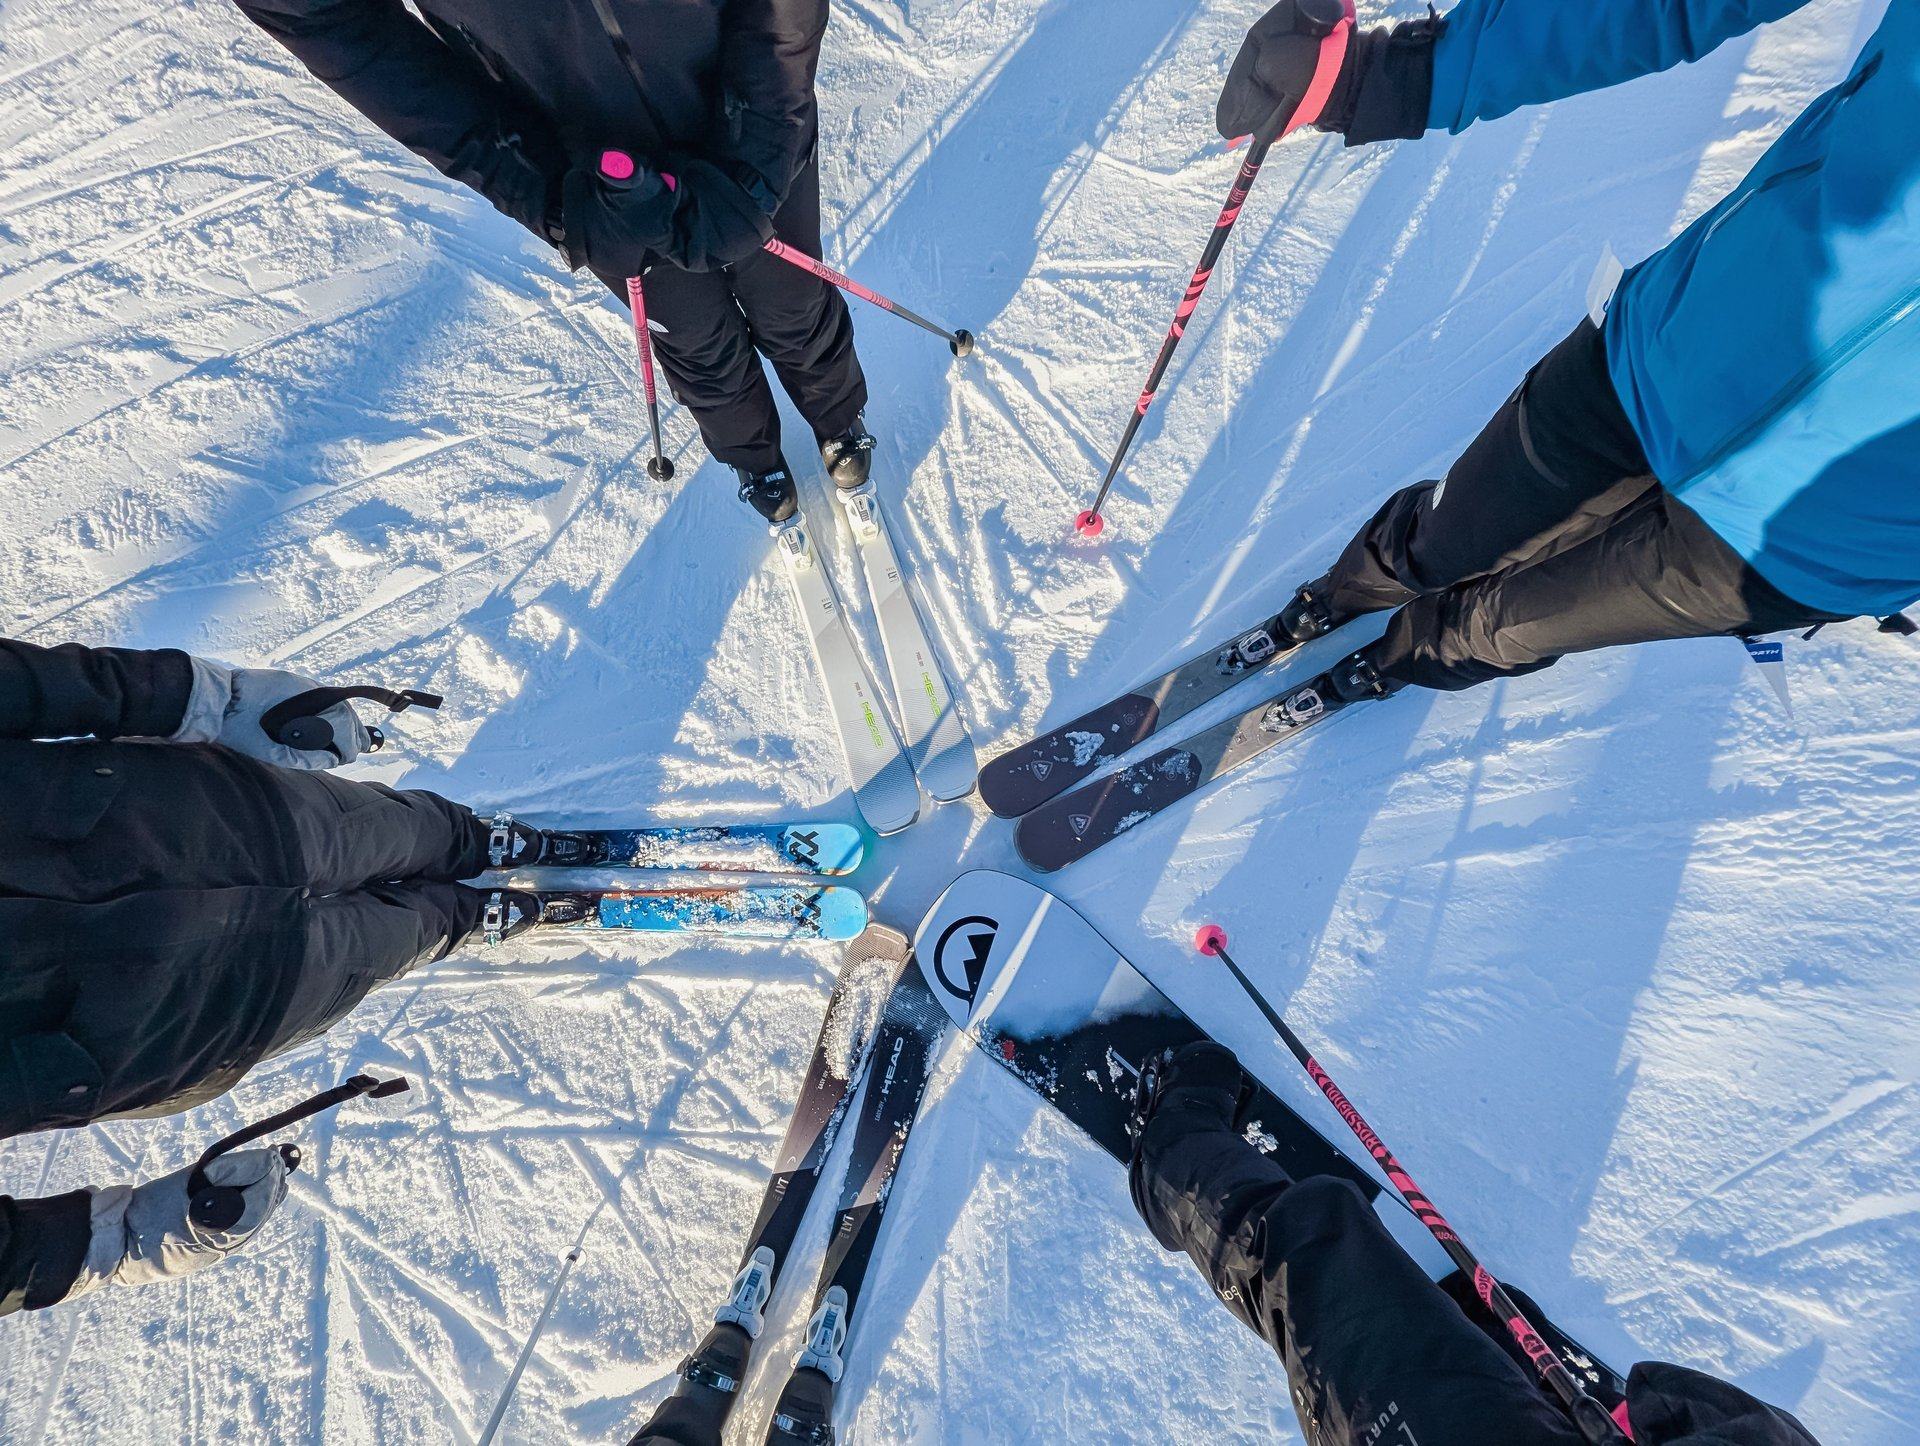
Skis are at the ski counter. We partner with Head Skis to provide the best skis to learn on as part of the HeadStart Program. For a snowboard, go to the snowboard counter — Burton Learn To Ride boards are built for getting started. Note your inventory number; the rental tech can write it on your lift ticket for you.
Step 4 — Poles
Skiers pick up poles at the pole counter at the end of the rental shop.
Step 5 — Using your equipment
- Step off the deck and onto the snow before you put your skis or board on.
- Clear as much snow as you can from your bindings and the bottom of your boots.
- Coming inside for a break? Leave skis, board and poles in the racks on the deck — and remember the number on the tip or nose.
- When you are done for the day, return everything through the door you used to leave the shop.
Always follow the Alpine Responsibility Code.